


Polish Plexiglas and smooth cutting edges

Description
Cutting acrylic glass to size results in a rough-sawn, milky-white cutting edge. However, if the cutting edges are intended to be visible when finished, the surface often needs to be clear and gleaming. This guide shows you how you can use the ROTEX to polish acrylic glass cutting edges to a clear gleam.
Tools/accessories


Alternative tools


Preparation/set-up
-
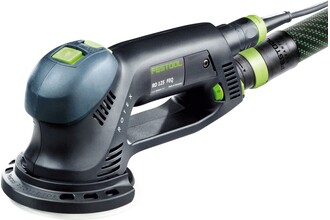
First fit the polishing pad onto the ROTEX.

-
Place the polishing felt onto the polishing pad.
For reliable polishing of Plexiglas, the unnecessary extraction adapter is removed.

-
Reconfigure the ROTEX to coarse sanding.


Procedure
-
Conventional procedure: Complex, laborious and time-consuming sanding by hand
Problem:- Mechanical processing with angle grinders, risking overheating of the surface and loss of polishing paste.
- The water absorption of Plexiglas increases as the temperature rises. The effects of temperatures over 40 °C can cause a milky-white discolouration in the acrylic.
- This can be eliminated via air or oven drying, provided that the material was not subject to any significant excess strain.

-
Using the ROTEX and appropriate system accessories, the problem outlined above can be solved and the cutting edge polished to a clear gleam using the following process:
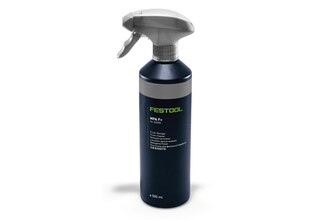
- First apply the polish to the polishing felt.

-
- Now set the ROTEX to speed level 1 to spread the polishing paste onto the workpiece. To prevent the polishing paste flying off when the ROTEX is switched on, only start the device when it is already in contact with the surface to be polished.
- Slowly increase the speed level to 4–6.
- Push down gently on the ROTEX and polish the acrylic.
- Then check the surface by wiping it down with the microfibre cloth and, if required, repeat the above process to carefully polish Plexiglas edges.
Notes:
Finishing with sheepskin should be avoided, as Plexiglas can become electrostatically charged and attract dust when rubbed. The static effect will continue until the surface is washed down or cleaned. If the surface becomes electrostatically charged even without the use of sheepskin, the Plexiglas can be wiped down with an antistatic plastic cleaner and care product after polishing.


-
Our illustrated guides and work results are documented working steps that we have performed in practice. They are individual examples and do not guarantee or promise that users will obtain the same results. The results will depend on the user's experience and skill, as well as the material being used. Illustrated guides do not replace any Festool operating manuals and/or safety instructions. Liability for ensuring that the information, instructions and applications are free from content defects and defects of title, in particular with regard to the absence of defects, correctness, freedom from third party intellectual property rights and copyrights, completeness and fitness for purpose, is excluded. Claims for damages made by the user, regardless of their legal basis, are excluded. These liability exclusions are not applicable if the damage was intentional or caused by gross negligence, or in cases of statutory liability.
We cannot accept liability for damage resulting from defects.↑
